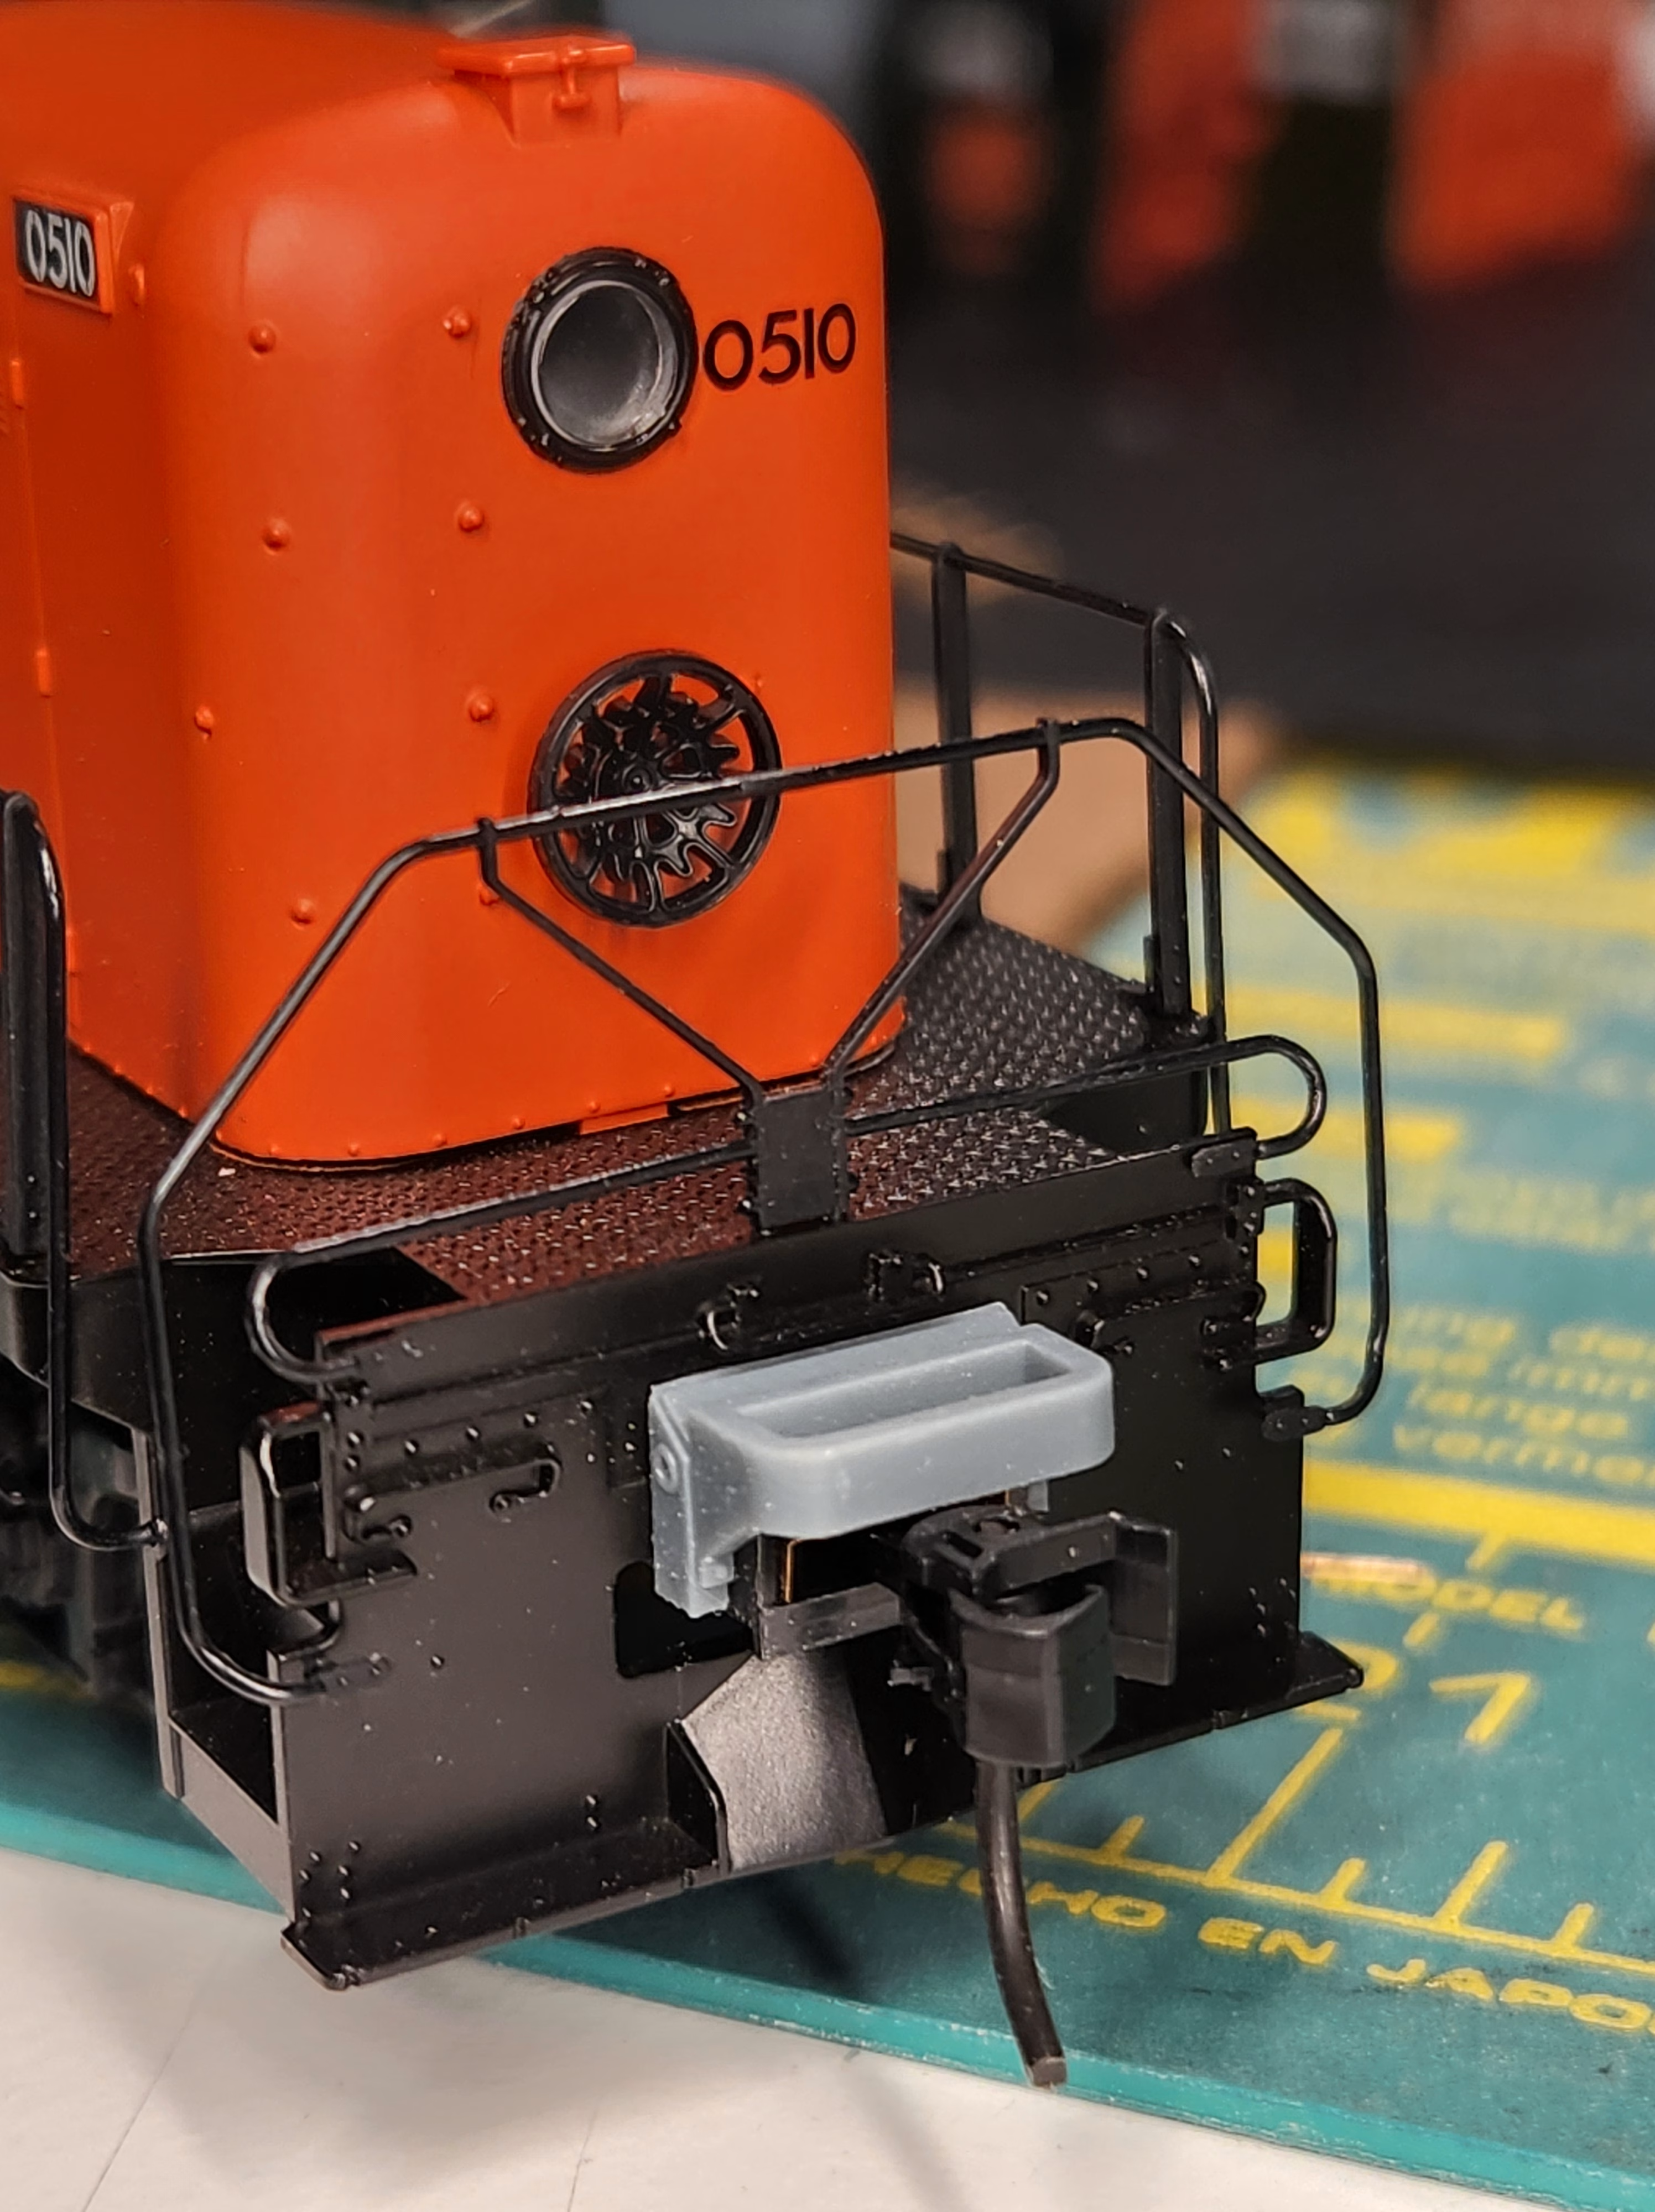
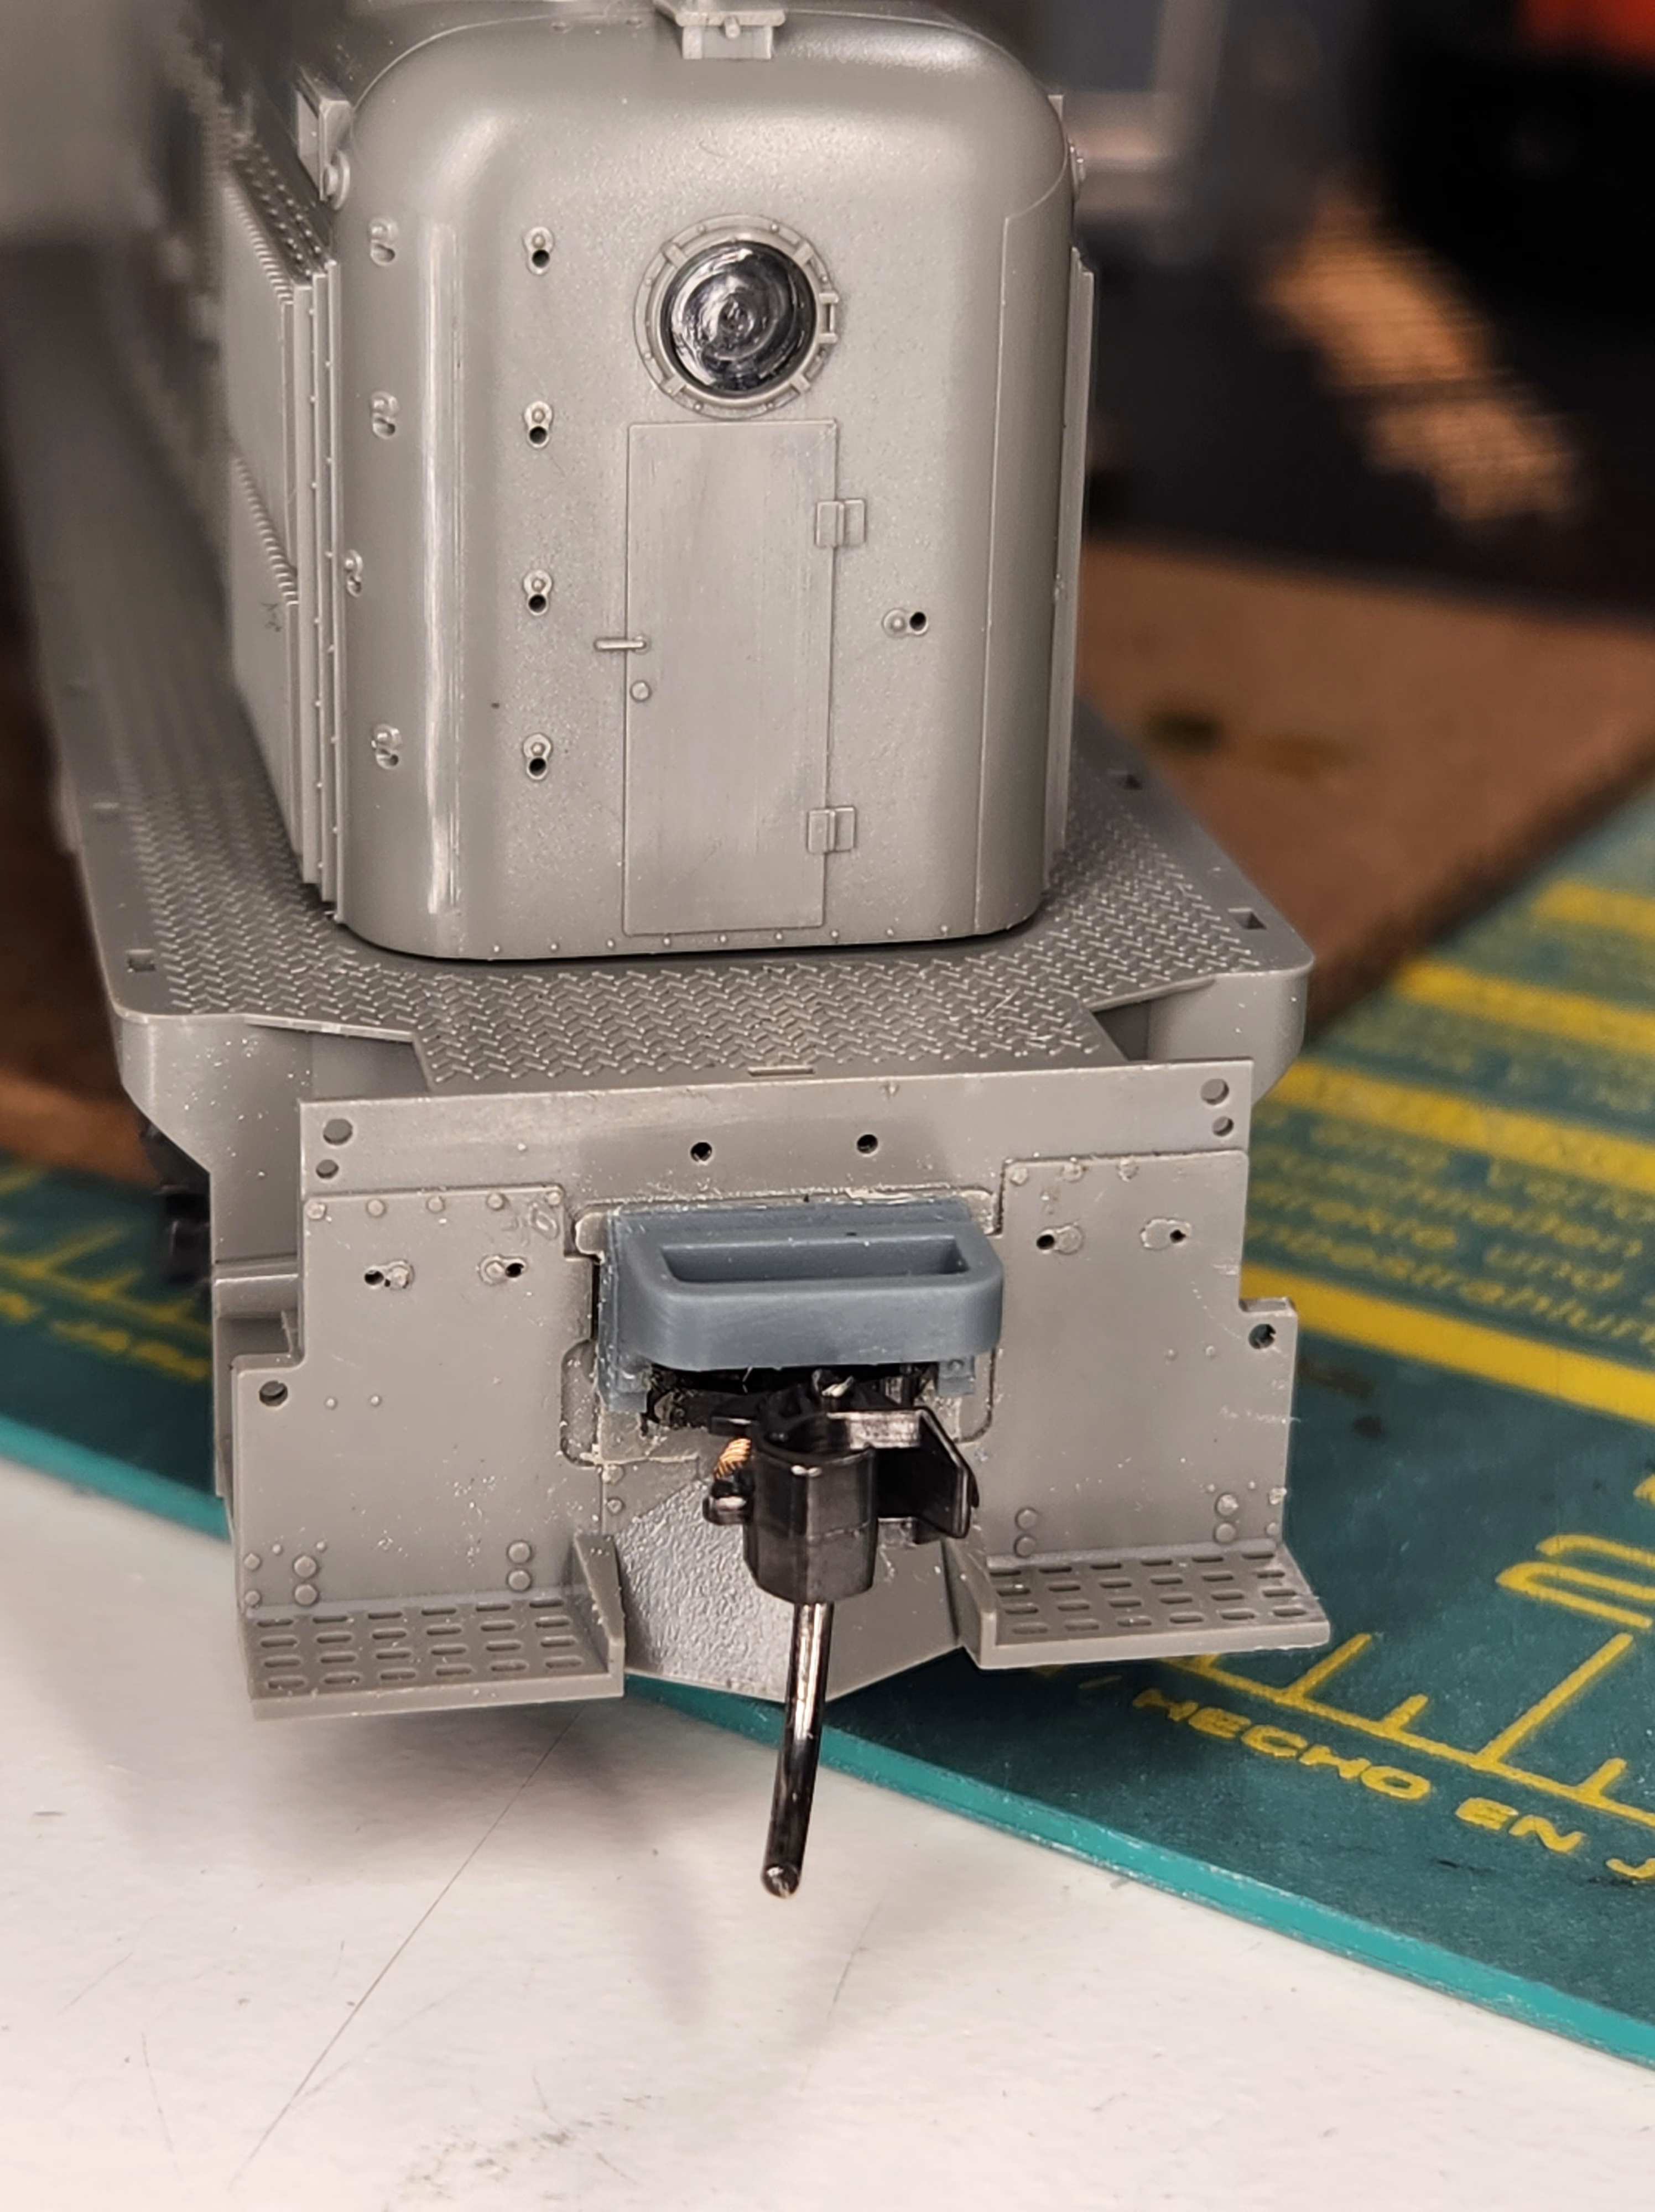
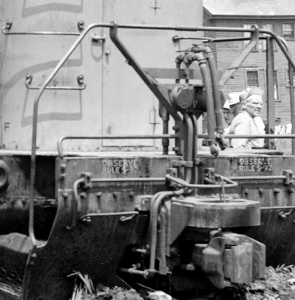
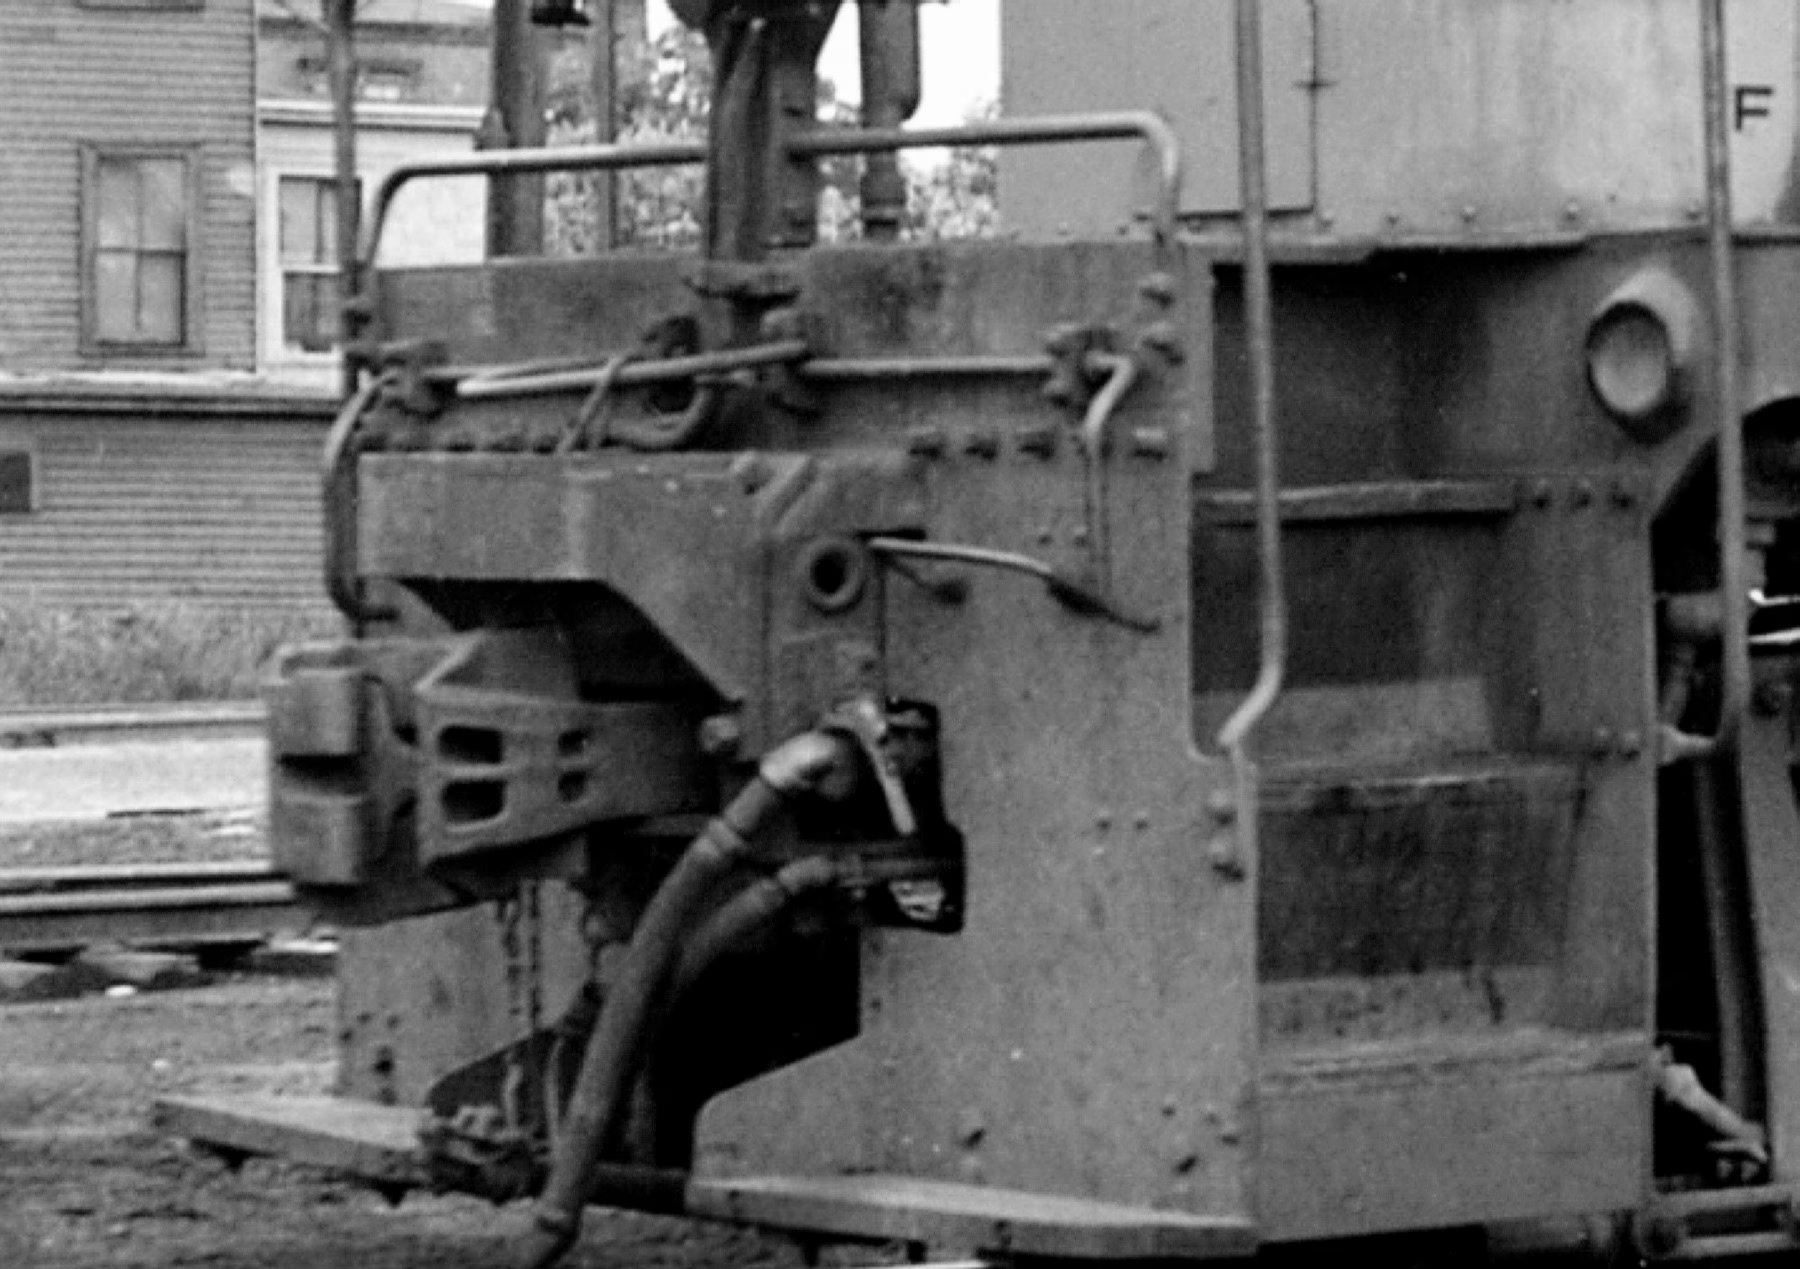
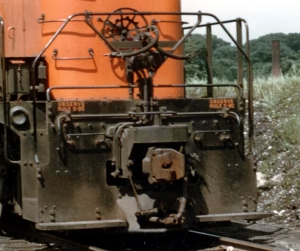
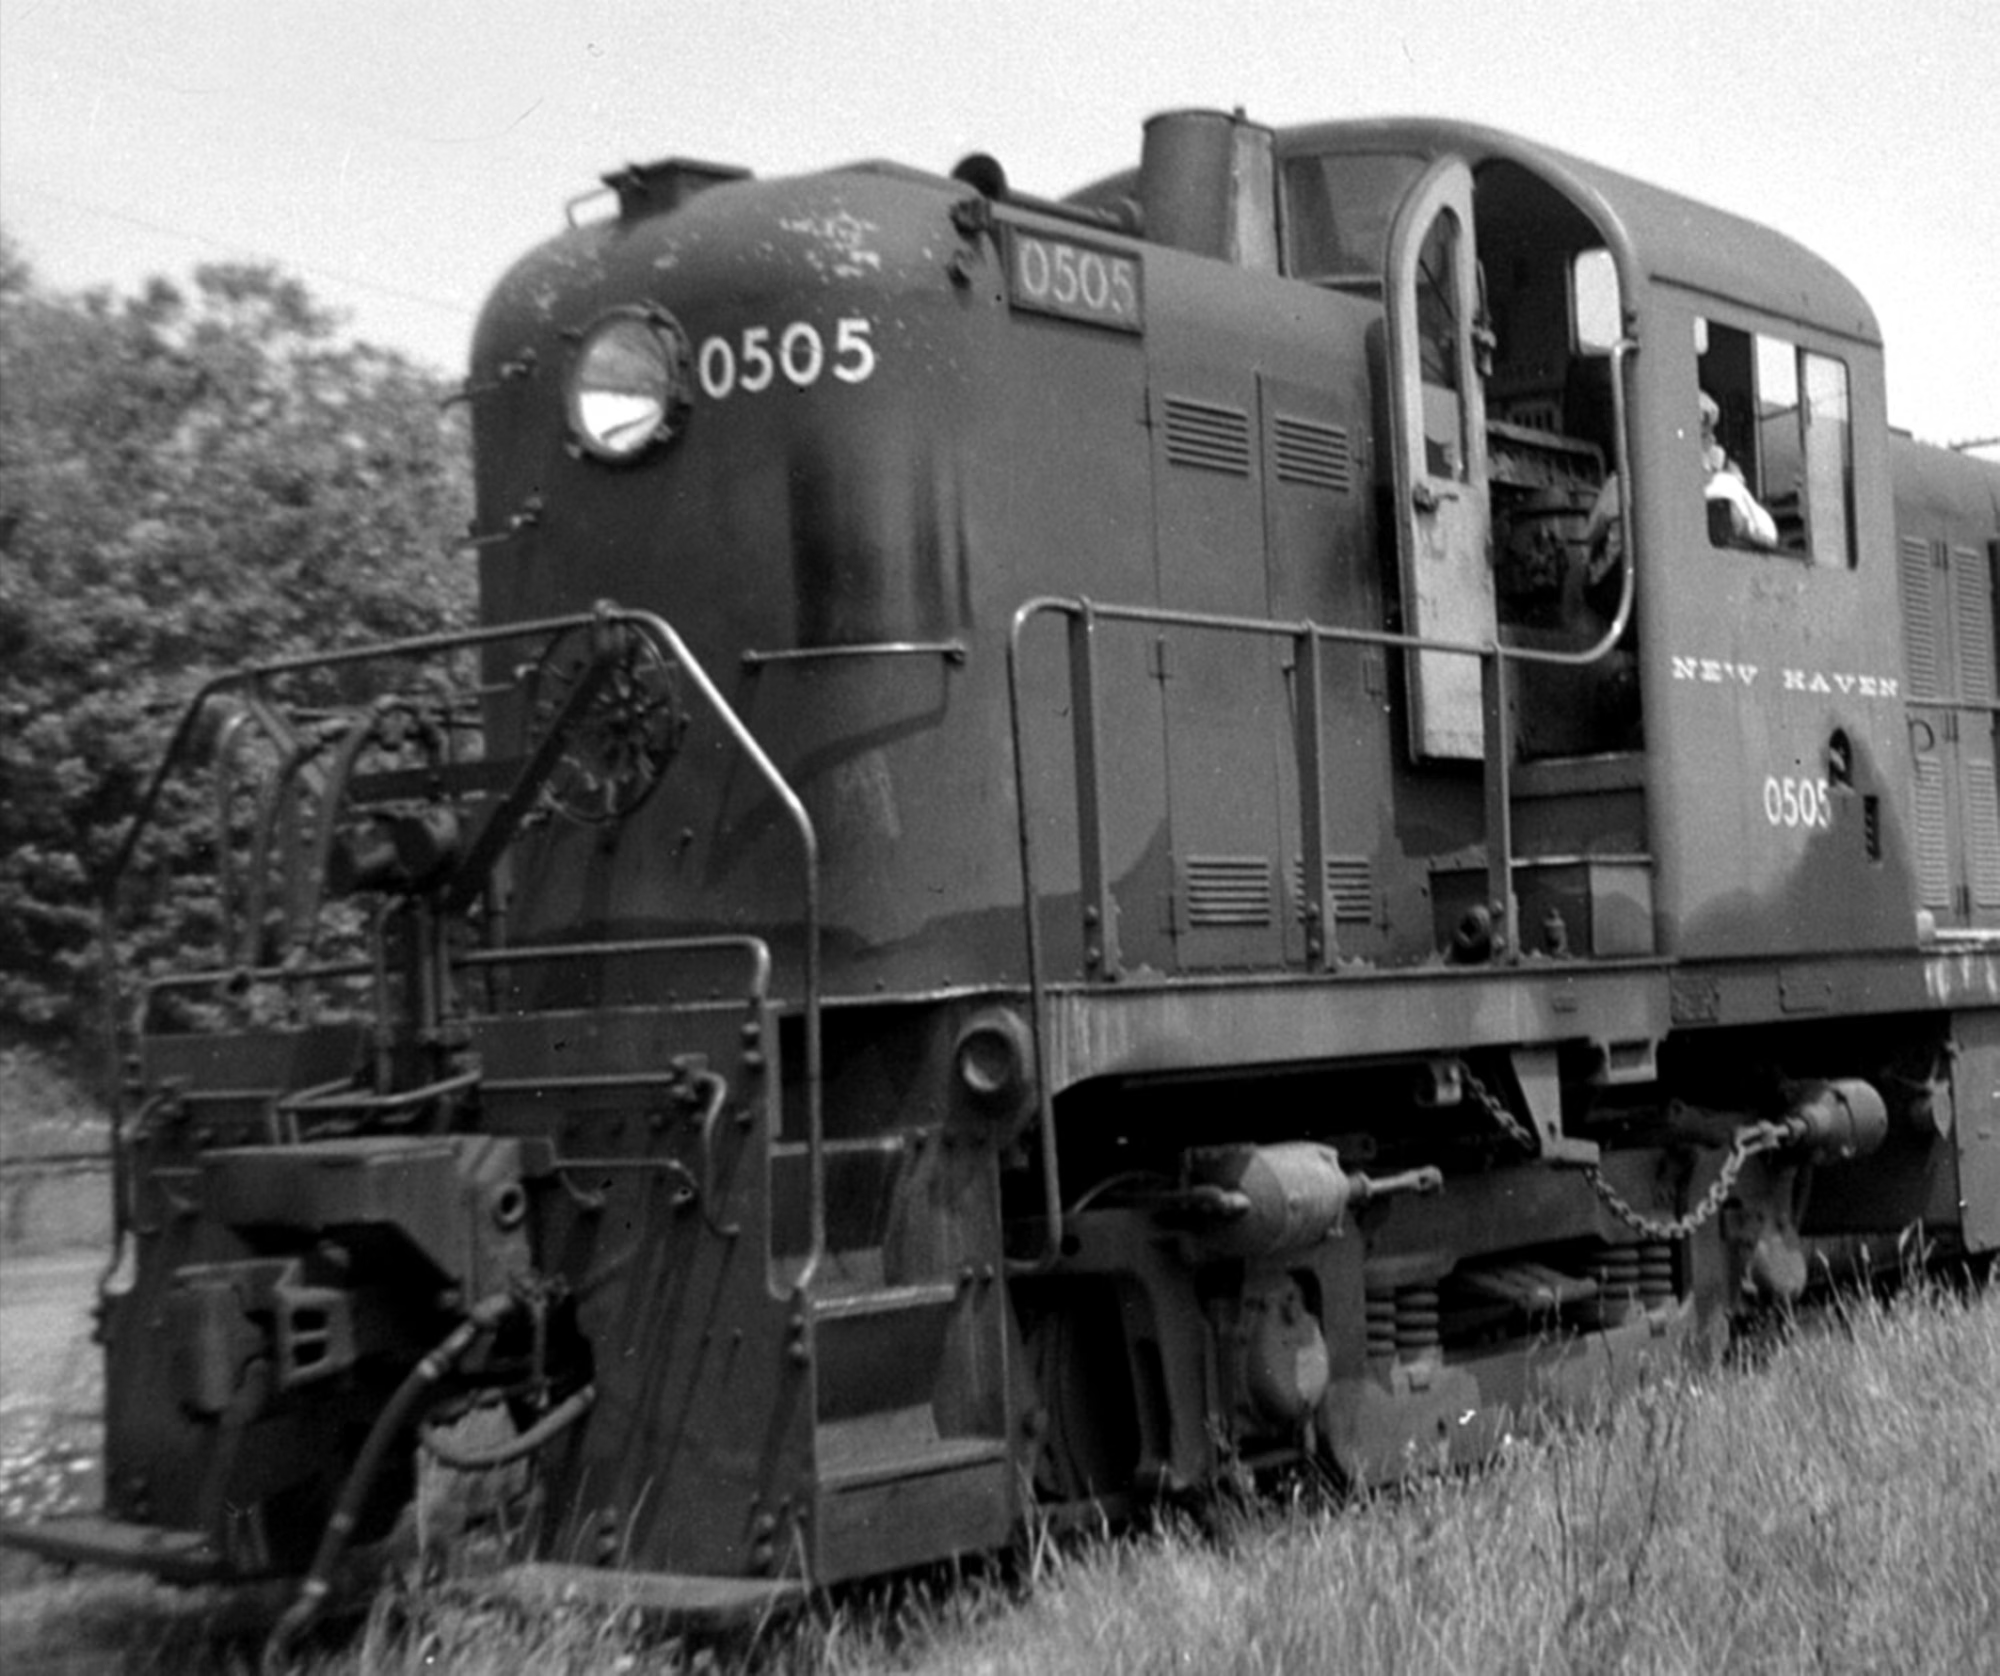
The New Haven Railroad added Passenger Buffers to their Alco DERS-2b (RS-2), DERS-2c (RS-3) and DERS-1b (RS-1) locomotives. The buffer was added so passenger cars would not interfere with coupler on the engine.
The RS-2 and RS-3 locomotives used the same bolt on passenger car buffer. The RS-1 buffer appears slightly different in photos. This buffer was designed to fit the RS-2 and RS-3 locomotives.
David Hutchinson sent me some great photos from his collection to help design the buffers.
David Hutchinson photo
David Hutchinson photo
David Hutchinson photo
David Hutchinson photo
Randy Hammill has a lot of additional information about the RS-2 buffers and scratchbuilding them in a blog entry here.
This information was very useful when designing the 3D printed buffers.
How to Install 3D Printed Buffers
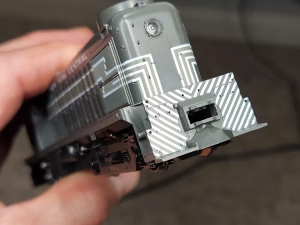
Cast on buffer on a NYC decorated Kato RS-2
Kato RS-2
I had a NYC decorated RS-2 that I bought many years ago to convert to a New Haven DERS-2b (RS-2). I attempted to strip the shell using some IPA. I soaked it for hours, but nothing happened. I bought an undecorated shell from Kato. That gave me a NYC shell to test my modifications without potentially destroying the undecorated shell.
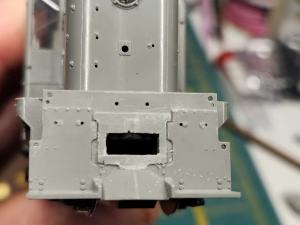
The Kato RS-2 has a tapered buffer around the coupler. The buffer needs to be removed and filed to provide a flat surface to attach the 3D printed buffer. I used some Tamiya sprue cutters that I use to remove 3D printing supports to chop out much of the cast on buffer.
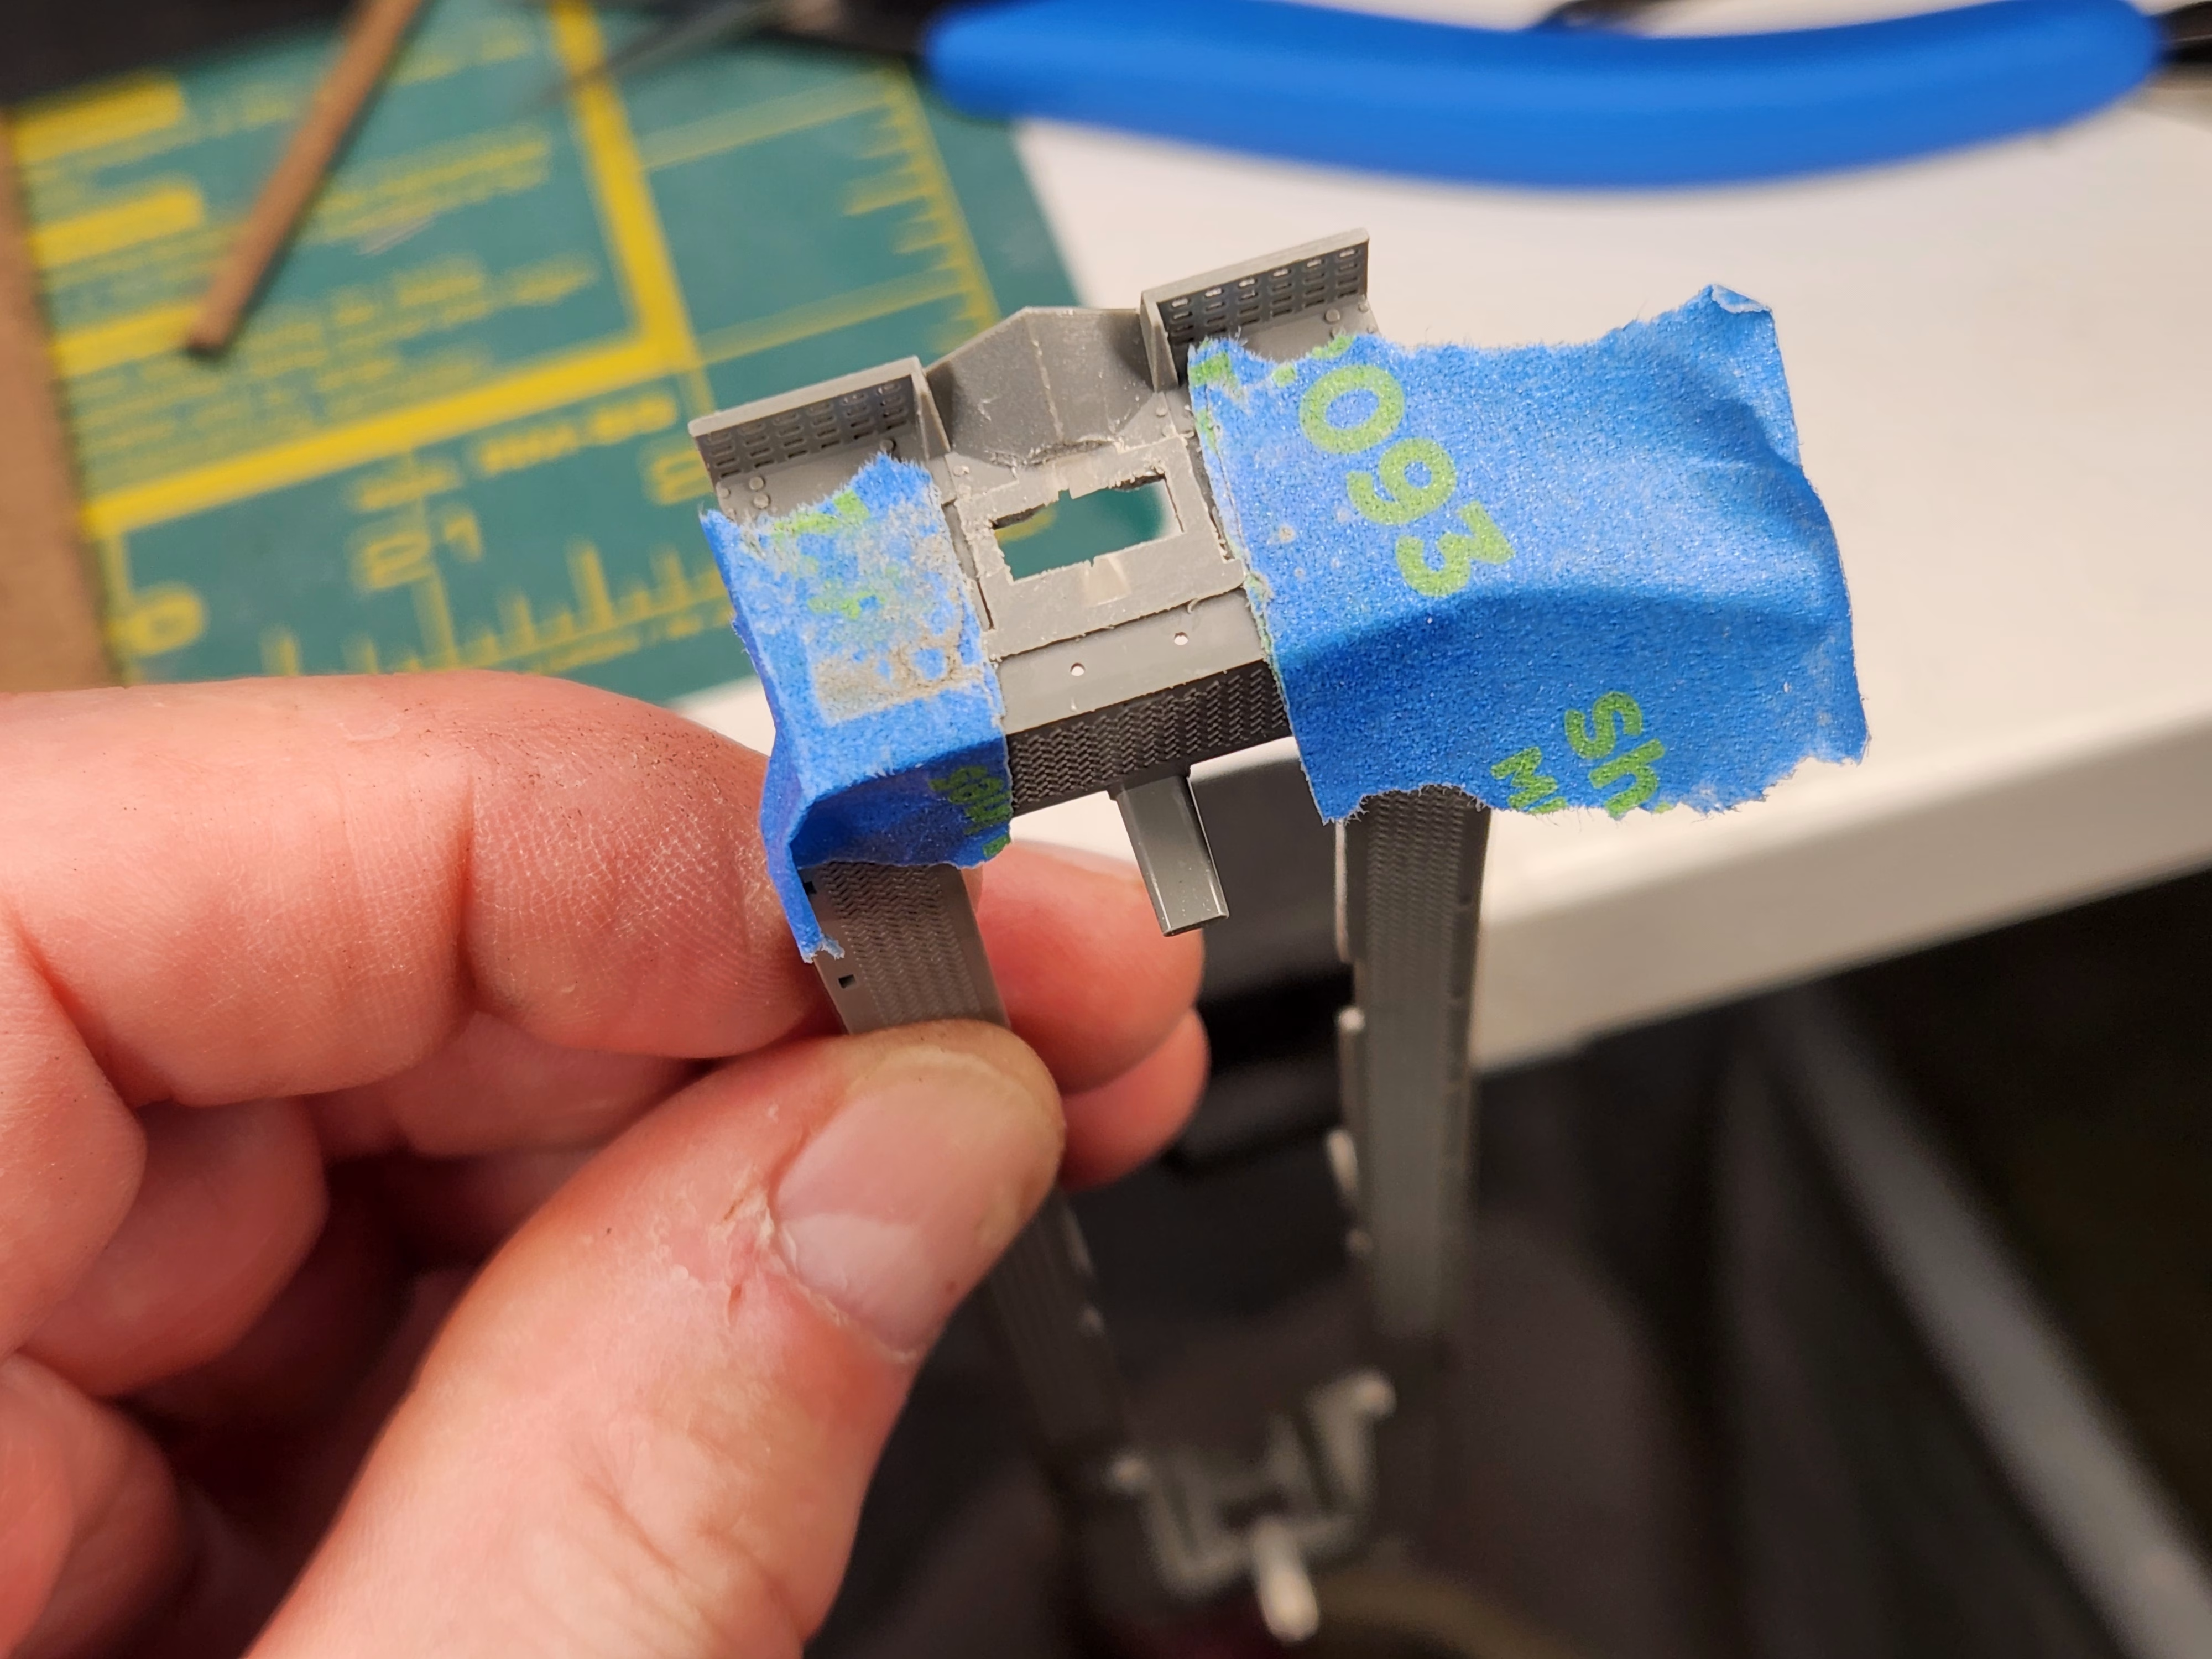
Then I added some tape to cover the details on the sides of the coupler opening so they would not be removed while filing off the original buffer.
Kato RS-2 end taped
Then I filed off the buffer to make a flat surface to mount the 3D printed buffer. The end gets very thin around the original coupler mounting hole.
I selected a Kadee #36 coupler to replace the factory coupler. The #36 coupler has a long centerset shank and comes with a small gear box for mounting in limited space.
I had to file the bottom of the coupler opening a small amount so the gear box that comes with the #36 coupler would fit into the opening. The gear box was assembled and mounted in the “standard position” with the draft gear box lid at the top against the chassis and the spring lid at the bottom.
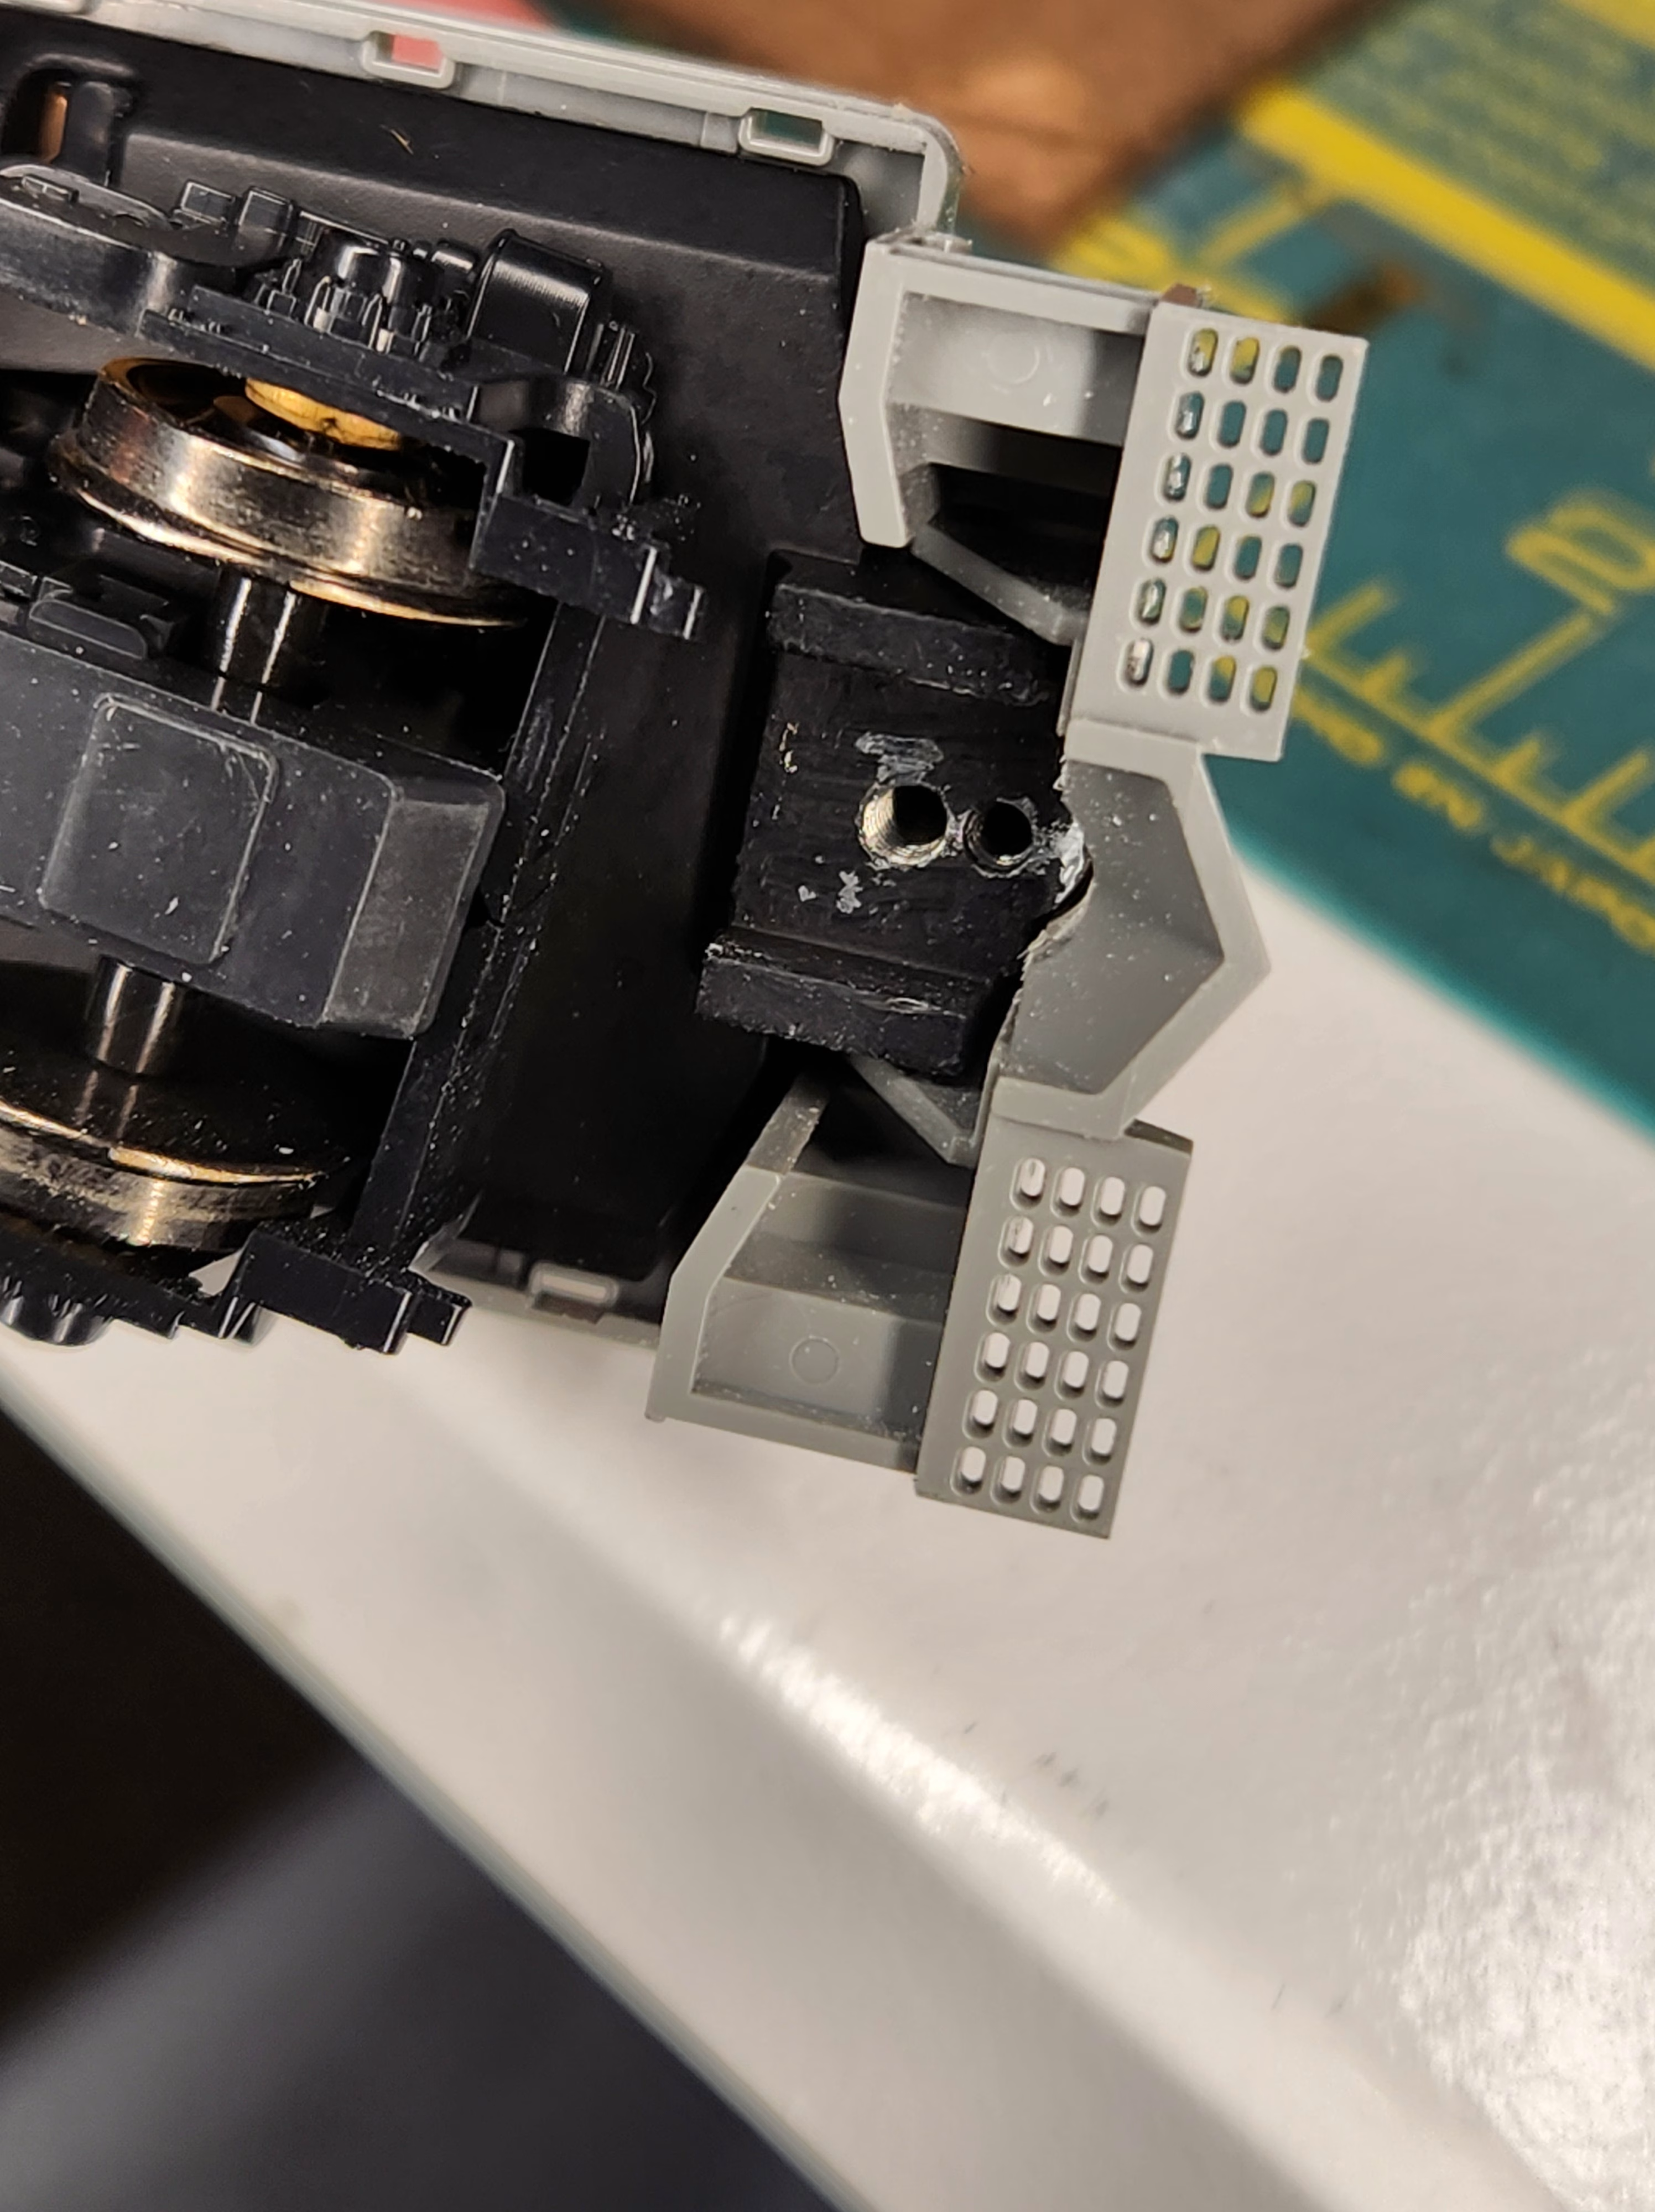
I moved the coupler gear box inward from the face of the end so the draft gear box didn’t protrude from the end so much. I drilled and tapped a new hole using a #50 drill and a 2-56 tap from the Kadee #246 tap and drill set.
New tapped 2-56 hole for coupler
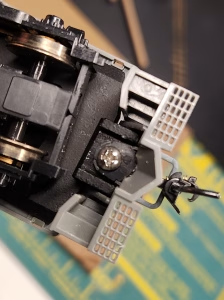
Then I attached the #36 coupler and gear box to the chassis of the locomotive with a 2-56 1/4″ pan head screw. I can provide one of these screws if necessary. Let me know if you need screws when purchasing buffers.
Coupler installed
Proto 1000 RS-2
I had a New Haven decorated RS-2 that I bought many years ago. I wanted to add the buffer to this model and keep as much of the decoration as possible.
Fortunately it was fairly easy to remove the factory coupler boxes and replace them with a Kadee #242 coupler gear box. The gear box was installed replacing the factory box. I used the factory spring and coupler with the Kadee lid on the bottom. I used the original screw to attach the assembly to the chassis.
The only other thing I needed to do before attaching the new buffer to the engine was to remove the flange from the sides of the Kadee box so the buffer could fit over the box. Then I attached the new buffer to the face of the end using canopy cement.
Cookie Consent
We use cookies to improve your experience on our site. By using our site, you consent to cookies.
Cookie Preferences
Manage your cookie preferences below:
Essential cookies enable basic functions and are necessary for the proper function of the website.
Name
Description
Duration
Cookie Preferences
This cookie is used to store the user's cookie consent preferences.
30 days
You can find more information in our Cookie Policy and .
Subscribe
Subscribe to receive email when something new is happening at NE Model Works.